Request a consultation

TL;DR – Essential Tools for Flawless Window & Door Installation
- A clear installation tools checklist keeps your project on track, prevents mid-job trips to the store, and helps you decide what you can DIY vs. when to hire a pro.
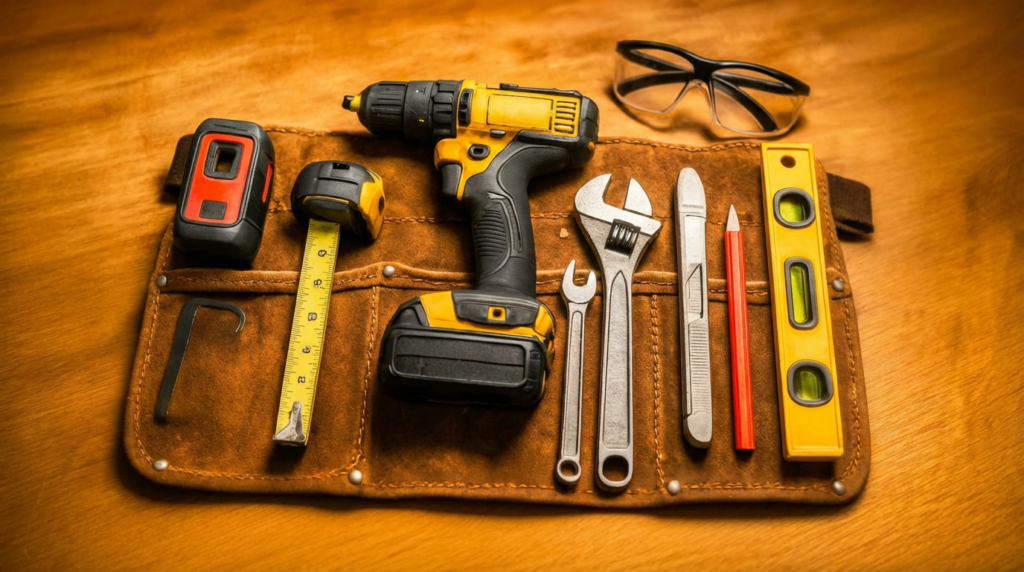
- For measuring & layout, you’ll need basics like a tape measure, level, pencil, and often extras like a framing square, angle finder, and laser level to ensure openings are plumb, level, square, and sized correctly.
- Demolition & removal tools (pry bars, hammer, oscillating tool, utility knife, reciprocating saw, drill/driver, plus drop cloths and a shop vac) let you remove old units with minimal damage and keep dust and debris under control.
- Setting & fastening tools (levels, squares, shims, drill/impact driver, screw gun, and any required brackets or anchors) make sure new windows and doors are installed plumb, level, and square for smooth operation and proper sealing.
- Shims, flashing & sealants (sill pans, flashing tape/membranes, low-expansion foam, exterior sealant, backer rod) are critical for long-term protection against drafts and water intrusion—generic foam or caulk is not a good substitute.
- Safety gear & ladders (eye, hand, hearing and respiratory protection, sturdy footwear, proper ladders) are non-negotiable, especially when lifting heavy units or working at height; older homes may also require lead-safe practices under EPA’s RRP Rule.
- Cleanup & finishing tools (shop vac, broom, trash bags, drop cloths, caulk gun, nail set, painter’s tape, brushes/rollers) help you leave the space clean and complete with neat trim, paint touch-ups, and clear glass.
- Build a project-specific list based on your scope (simple replacements vs. whole-house or upper floors), the products you’re using, and their installation instructions—then decide what to buy, rent, or leave to a professional installer.
If you’d rather skip assembling the full toolkit and safety setup, Modern Windows & Doors can handle installation with the right tools, training, and expertise already in place.
Why an Installation Tools Checklist Matters
An installation tools checklist matters because it keeps your window and door project moving instead of stalling every time you need a tool you do not have. When you know exactly what you need for measuring, removal, installation, sealing, and cleanup, you can schedule work realistically and avoid mid-project delays. A clear list also makes it easier to decide whether to handle a task yourself or hire a professional, because you can compare the tools you already own with what a full installation actually requires. Most important, a checklist forces you to think about safety gear and building requirements up front, not as an afterthought.
Measuring and layout tools help you get openings right the first time by confirming that the new unit will fit, operate properly, and seal against drafts. At minimum, you need a sturdy tape measure, a carpenter’s pencil, and a reliable level; many installers also rely on a framing square, an angle finder, and a straightedge to check that sills and jambs are truly square. A laser level or cross-line laser can be useful for aligning multiple windows along a wall so sightlines match. Keeping a simple worksheet or notebook with rough opening sizes, product dimensions, and any casing or trim details prevents measurement mistakes from turning into ordering errors or extra labor on installation day.
Demolition & Removal Tools: Taking Out Old Windows and Doors Safely

Demolition and removal tools let you take out old windows and doors with less damage to surrounding finishes and framing. Common tools include flat pry bars for freeing trim, a hammer, a multi-tool or oscillating tool for cutting caulk and nails, and a utility knife for scoring paint lines before you pry. For tougher removals, a reciprocating saw with metal and wood blades can cut fasteners that are hidden behind jambs, while a drill or driver removes screws from previous installations. Having drop cloths, buckets, and a shop vacuum ready from the start helps control dust, glass fragments, and debris so the rest of the home stays as clean and safe as possible.
Setting and fastening tools help you install each new window or door plumb, level, and square so it operates smoothly and seals correctly. Core tools include a high-quality level, a combination square, wood or composite shims, and a drill or impact driver with the right bits for manufacturer-recommended fasteners. For door installations, you may also want a screw gun with adjustable clutch settings to avoid over-driving screws and distorting the frame. Specialized items such as installation brackets, structural screws, or masonry anchors are often required for particular wall types, so it is essential to review manufacturer installation guides and confirm you have those materials on site before you start setting units in place.
Shims, Flashing & Sealants: Protecting Against Drafts and Water
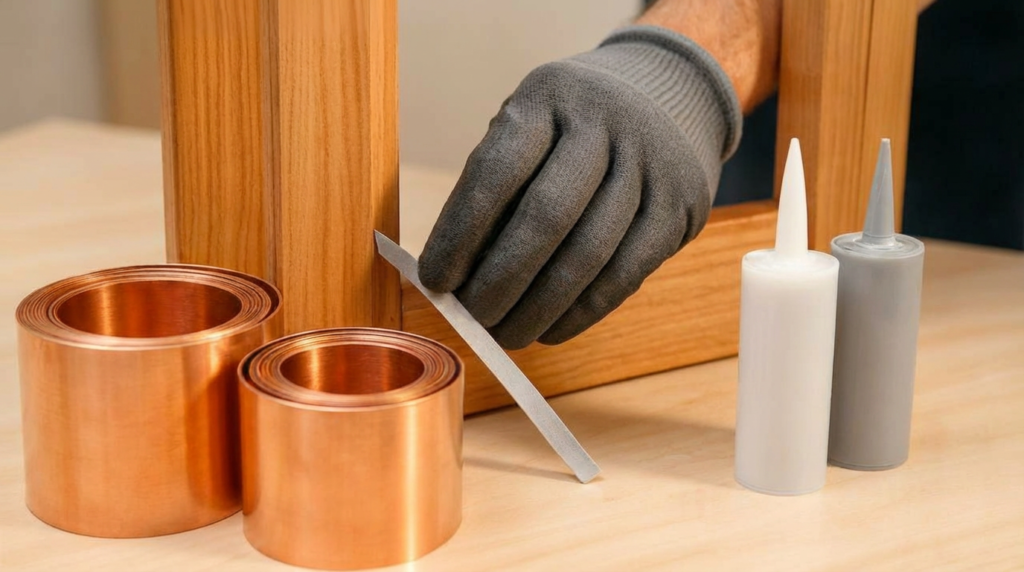
Shims, flashing, and sealants protect your installation against drafts, water intrusion, and long-term damage to surrounding materials. Wood or composite shims support the frame and keep it square without crushing the window or door, while a properly sloped sill or sill pan helps direct any incidental water outward. Self-adhesive flashing tape, flexible flashing membranes, and back dams work together to tie the opening into the wall’s weather-resistive barrier. For air-sealing, a low-expansion spray foam rated for windows and doors fills gaps without bowing frames, and high-quality exterior sealant and backer rod complete the perimeter seal at the exterior. Having these materials on your checklist reduces the temptation to substitute generic foam or caulk that may not perform over time.
Safety gear and ladders protect you and anyone helping you while you move heavy units and work at height. At a minimum, you should plan for safety glasses, cut-resistant gloves, hearing protection, and a dust mask or respirator when cutting, sanding, or disturbing old paint or trim. Sturdy footwear with good traction helps when you are carrying units over uneven ground or working on ladders. According to CDC ladder safety data, there were 161 workplace deaths and more than 22,000 workplace ladder injuries in 2020, which underscores how important it is to choose the right ladder, place it on stable footing, and maintain three points of contact while you climb. If your home was built before 1978, the EPA’s Renovation, Repair and Painting (RRP) Rule also requires lead-safe work practices when disturbing painted surfaces, and window replacement is specifically listed as a covered activity, so it is wise to plan for proper containment and cleanup.
Cleanup & Finishing Tools: Leaving the Job Site Ready to Enjoy
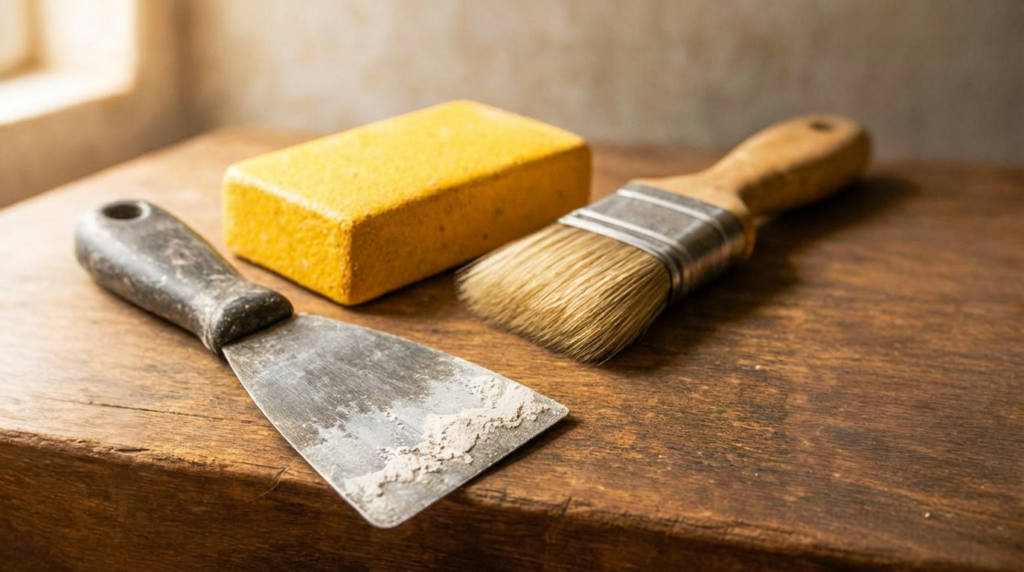
Cleanup and finishing tools help you leave the job site ready to enjoy instead of cluttered with dust and scraps. A shop vacuum with fine-dust filters, a broom and dustpan, and heavy-duty trash bags handle most demolition debris and sawdust. Plastic sheeting or reusable drop cloths protect flooring and furniture during the work and make final cleanup faster. For finishing details, keep a lightweight hammer, nail set, caulk gun, painter’s tape, and small brushes or rollers handy so you can install interior trim, touch up paint, and tidy sealant lines without multiple trips to the store. A final pass with a microfiber cloth on the glass and hardware makes new windows and doors look as good as they perform.
Building your project-specific tools list starts with your scope of work and the type of home you have. For a straightforward replacement of a few modern vinyl windows, you might only need basic hand tools, shims, sealants, and a step ladder. For a whole-house project, large patio doors, or work on upper stories, you may need heavier lifting equipment, additional ladders or scaffolding, and more extensive safety gear. Review manufacturer installation instructions for each product line you plan to use and highlight any required tools or materials that are not already on your list. Then compare that list to the tools you own and decide whether to rent, borrow, or hire a professional for portions of the job that require specialized equipment or experience.
Plan Your Next Window & Door Project with Modern Windows & Doors
Planning your next window and door project with the right tools and equipment means your investment in new products can deliver the comfort, performance, and curb appeal you expect. Once you have a sense of your scope, schedule, and tool needs, you can decide how much of the work to take on yourself and where a professional installer will save time and reduce risk. When you would prefer a team that already brings the full tool kit, safety training, and product expertise to your home, you can connect with Modern Windows & Doors here to discuss options that fit your replacement or upgrade plans.
Related Posts