In today’s world, energy efficiency is more than just a buzzword—it’s a crucial factor in home design and renovation. For homeowners, understanding the importance of energy-efficient windows and doors can lead to significant savings, increased comfort, and a reduced environmental footprint.
This comprehensive guide delves into the benefits of energy efficiency, particularly in relation to windows and doors, and how making informed choices can transform your living space into a more comfortable, cost-effective, and environmentally responsible home.
Table of Contents
- Understanding Energy Efficiency in Homes
- The Role of Windows and Doors in Energy Efficiency
- Benefits of Energy-Efficient Windows and Doors
- Key Features to Look For
- Types of Energy-Efficient Windows and Doors
- Real-World Examples and Case Studies
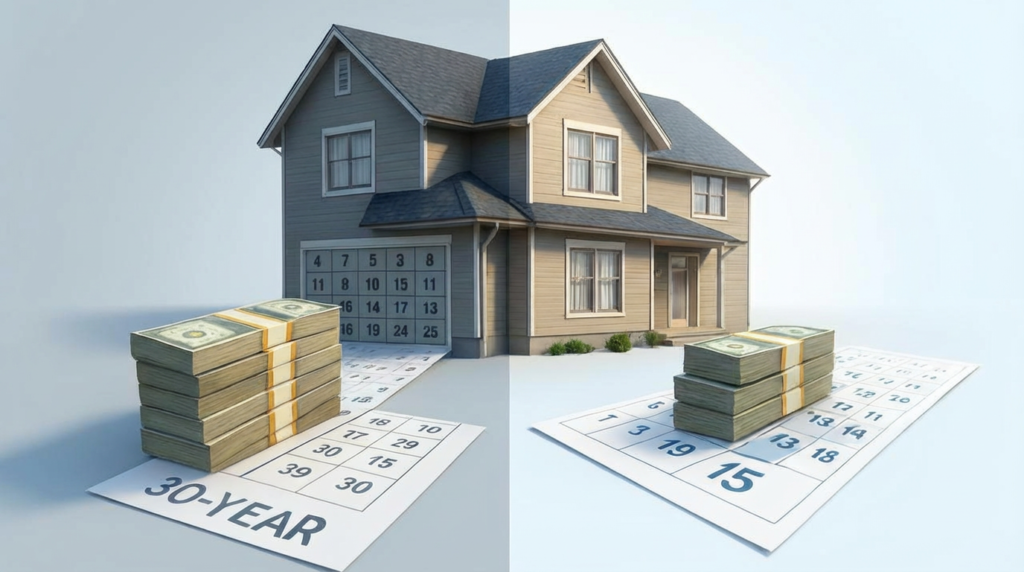
- Financial Incentives and Savings
- Installation Considerations
- Maintenance and Longevity
- Why Choose Professional Installation
- Conclusion
Understanding Energy Efficiency in Homes
Energy efficiency refers to using less energy to perform the same task, thereby eliminating energy waste. In the context of homes, this means maintaining comfortable temperatures, lighting, and appliance use while consuming less energy.
According to the Nevada Clean Energy Fund, energy-efficient homes can reduce energy consumption by 20-30% compared to standard homes, while providing superior comfort and indoor air quality. This translates to substantial savings over time and a significantly reduced environmental impact.
Implementing energy-efficient practices and products reduces utility bills and contributes to environmental conservation by lowering greenhouse gas emissions. For the average American household spending $2,200 annually on energy bills, even a 20% reduction represents savings of $440 per year.
The Energy Efficiency Hierarchy
Understanding energy efficiency involves recognizing the hierarchy of energy conservation:
- Reduce Energy Demand: Through proper insulation, air sealing, and efficient windows and doors
- Optimize System Efficiency: Using high-efficiency HVAC equipment and appliances
- Utilize Renewable Energy: Solar panels, geothermal systems, and other renewable sources
- Smart Energy Management: Programmable thermostats, energy monitoring systems
The Role of Windows and Doors in Energy Efficiency
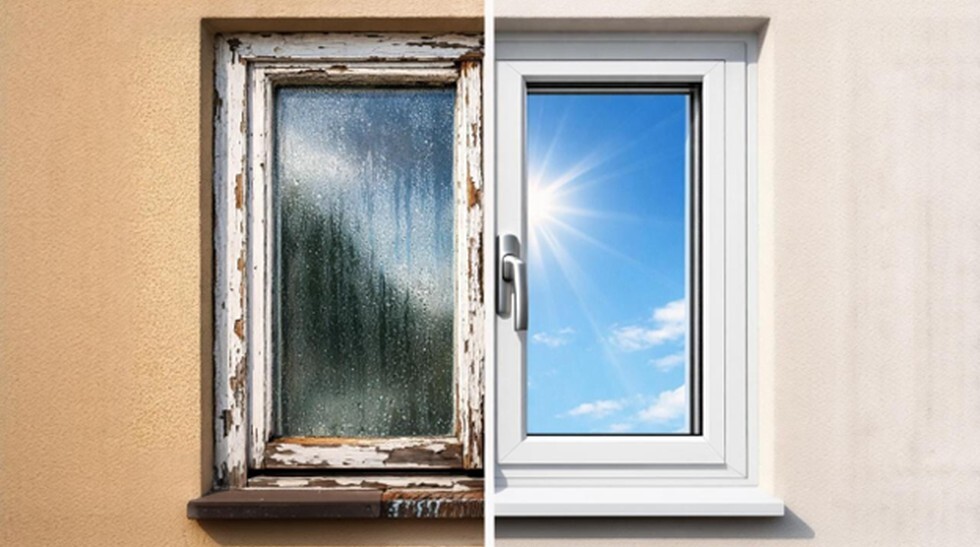
Windows and doors are critical components in a home’s energy performance. According to the U.S. Department of Energy, heat gain and loss through windows are responsible for 25%–30% of residential heating and cooling energy use. This makes them one of the most significant factors in your home’s overall energy efficiency.
How Energy Loss Occurs
Understanding how energy loss happens through windows and doors helps illustrate why upgrades are so important:
Conduction: Heat moves through the glass, frame, and door materials themselves. Single-pane windows are particularly susceptible to conductive heat loss.
Convection: Air currents carry heat away from warm surfaces and toward cold ones. Poor sealing around windows and doors creates drafts that increase convective heat loss.
Radiation: Heat energy travels through electromagnetic waves. In summer, solar radiation enters through windows, while in winter, interior heat radiates outward through cold glass surfaces.
Air Infiltration: Gaps and cracks around windows and doors allow conditioned air to escape and outdoor air to enter, forcing HVAC systems to work harder.
Seasonal Impact Examples
Winter Example: A typical single-pane window in a 2,000 square foot home can lose enough heat in one winter to equal burning 10-15 gallons of heating oil or 100-150 cubic feet of natural gas per window.
Summer Example: South-facing windows without proper coatings can add 1,000-2,000 BTUs of heat per hour to your cooling load, equivalent to running an additional window air conditioning unit.
Inefficient windows and doors can lead to drafts, heat loss in winter, and heat gain in summer, forcing heating and cooling systems to work harder. Upgrading to energy-efficient models helps maintain indoor temperatures, reducing the strain on HVAC systems.
Benefits of Energy-Efficient Windows and Doors
1. Reduced Energy Bills
Energy-efficient windows and doors minimize the need for heating and cooling, leading to lower energy consumption. Replacing old windows with ENERGY STAR certified windows can lower household energy bills by up to 13% nationwide.
Specific Savings Examples:
- A home in Minneapolis replacing 15 single-pane windows with ENERGY STAR qualified windows can save $465 annually
- Phoenix homeowners can save approximately $311 per year with the same upgrade
- In moderate climates like San Francisco, annual savings average $185
2. Enhanced Comfort
By reducing drafts and maintaining consistent indoor temperatures, energy-efficient installations create a more comfortable living environment. They help eliminate cold spots in winter and overheating in summer.
Comfort Improvements Include:
- Elimination of drafts near windows and doors
- More consistent temperatures throughout the home
- Reduced noise infiltration from outside
- Better humidity control
- Elimination of condensation on windows
3. Environmental Impact
Lower energy consumption means reduced greenhouse gas emissions. By upgrading to energy-efficient windows and doors, homeowners contribute to environmental conservation efforts.
Environmental Benefits:
| Improvement | Annual CO2 Reduction | Equivalent to |
| Replacing 10 single-pane windows | 1,000-2,500 lbs | Planting 12-30 trees |
| Installing energy-efficient entry door | 200-500 lbs | Driving 500-1,250 fewer miles |
| Complete window and door upgrade | 2,000-4,000 lbs | Removing car from road for 2-4 months |
4. Increased Property Value
Homes with energy-efficient features are more attractive to buyers. Investing in such upgrades can increase a property’s resale value, offering a return on investment.
Property Value Impact:
- Energy-efficient windows can increase home value by $8,000-$15,000
- New entry doors typically return 65-85% of their cost in increased home value
- Homes with ENERGY STAR windows sell 3-5% faster than comparable homes
5. Health and Wellness Benefits
Energy-efficient windows and doors contribute to better indoor air quality and occupant health:
- Reduced Allergens: Better sealing keeps pollen and dust out
- Improved Air Quality: Less infiltration means better control over indoor air
- Consistent Temperatures: Reduces risk of mold and condensation
- Better Sleep: Improved sound insulation and temperature control
Key Features to Look For
When selecting energy-efficient windows and doors, consider the following features:
Window Features
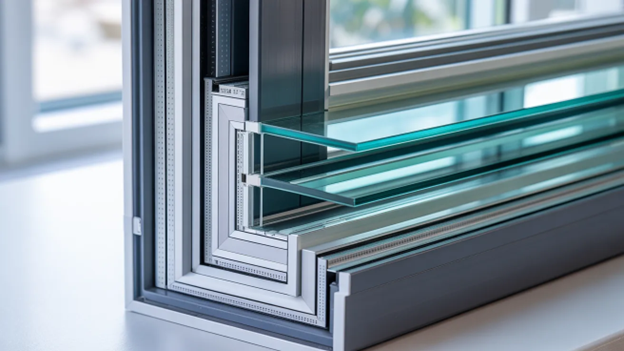
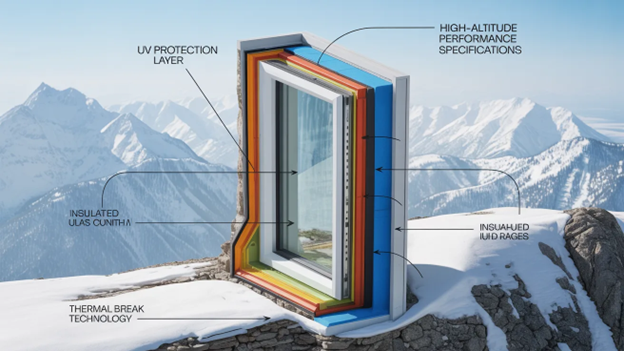
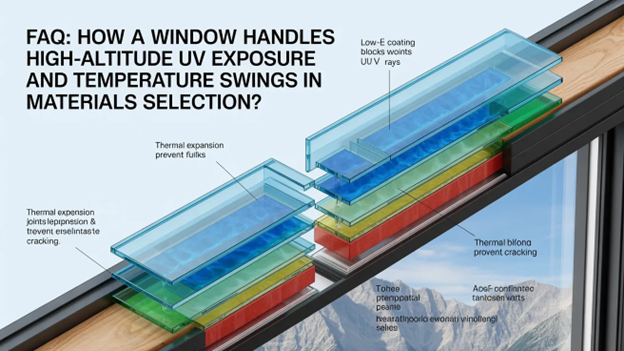
Low-E Glass Coatings: These coatings reflect infrared light, keeping heat inside in winter and outside in summer. Low-E coatings can improve a window’s energy efficiency by 30-50%.
Multiple Panes: Double or triple-pane windows provide better insulation than single-pane options.
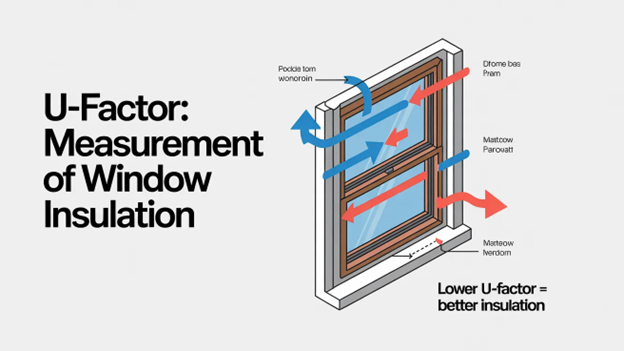
| Window Type | U-Factor* | Typical R-Value | Best Climate |
| Single-pane | 0.90-1.30 | R-1 to R-0.8 | None recommended |
| Double-pane | 0.30-0.60 | R-2 to R-3.3 | Most climates |
| Triple-pane | 0.15-0.30 | R-5 to R-6.7 | Cold climates |
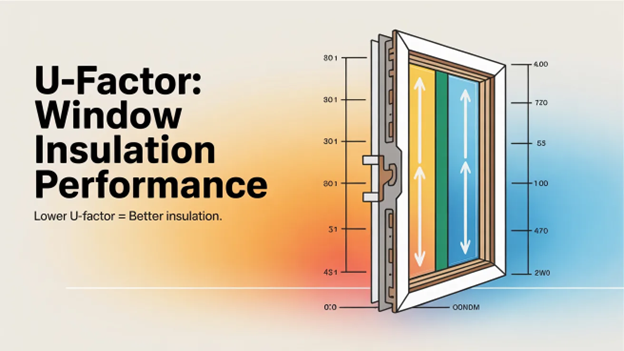
*Lower U-Factor = Better insulation
Gas Fills: Inert gases like argon or krypton between panes reduce heat transfer. Argon-filled windows are 5-15% more efficient than air-filled ones.
Quality Frames: Materials like vinyl, wood, fiberglass, and composite offer better insulation than aluminum.
| Frame Material | Benefits | Drawbacks | Best For |
| Vinyl | Low cost, good insulation, low maintenance | Limited colors, can warp | Budget-conscious, moderate climates |
| Wood | Excellent insulation, attractive, customizable | High maintenance, expensive | Traditional homes, cold climates |
| Fiberglass | Superior insulation, durable, paintable | Higher cost | Extreme weather, long-term value |
| Composite | Good insulation, durable, low maintenance | Moderate cost | Balanced performance needs |
Door Features
Insulated Core: Doors with foam or other insulating materials provide better thermal performance.
Weather Stripping: High-quality seals prevent air infiltration.
Multiple Points of Contact: Advanced locking systems that seal the door at multiple points.
Glass Options: If doors include glass, look for the same energy-efficient features as windows.
Certification and Ratings
Look for products with ENERGY STAR certification, indicating they meet strict energy efficiency guidelines set by the U.S. Environmental Protection Agency.
Key Rating Systems:
- U-Factor: Measures heat transfer (lower is better)
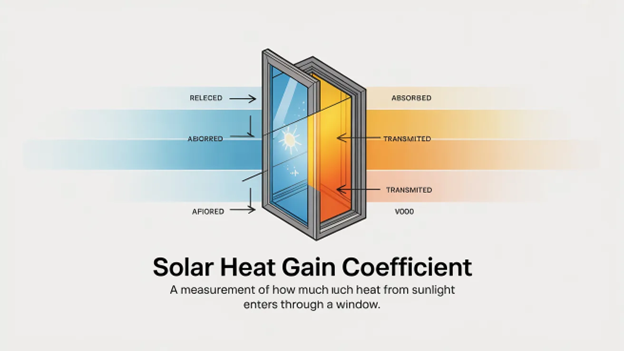
- Solar Heat Gain Coefficient (SHGC): Measures solar heat transmission (lower for cooling climates, higher for heating climates)
- Visible Transmittance (VT): Measures natural light transmission
- Air Leakage: Measures air infiltration (lower is better)
Types of Energy-Efficient Windows and Doors
Window Types
Double-Hung Windows: Traditional style with good energy efficiency when properly sealed.
Casement Windows: Excellent air sealing due to compression sealing when closed.
Picture Windows: No moving parts means superior energy efficiency but no ventilation.
Sliding Windows: Good for contemporary homes, energy efficiency depends on quality of sealing.
Door Types
Fiberglass Entry Doors: Excellent insulation properties, can mimic wood appearance.
Steel Entry Doors: Good security and moderate insulation when foam-filled.
Wood Entry Doors: Traditional choice with good insulation but requires maintenance.
Patio Doors: Sliding or hinged doors with energy-efficient glass options.
Real-World Examples and Case Studies
Case Study 1: Minneapolis Ranch Home
A 1960s ranch home replaced 18 single-pane windows with triple-pane, argon-filled windows:
- Before: Monthly heating bills averaged $285 in winter
- After: Monthly heating bills reduced to $195 in winter
- Annual Savings: $1,080
- Payback Period: 8.5 years
Case Study 2: Phoenix Desert Home
A desert home in Phoenix upgraded to Low-E windows with low SHGC:
- Before: Monthly cooling bills averaged $245 in summer
- After: Monthly cooling bills reduced to $175 in summer
- Annual Savings: $520
- Additional Comfort: Eliminated hot spots near windows
Case Study 3: Coastal Maine Cottage
A coastal cottage replaced old windows and added a new insulated entry door:
- Energy Savings: 28% reduction in total energy use
- Comfort Improvement: Eliminated drafts and cold spots
- Property Value: Increased by $12,000 according to appraisal
Financial Incentives and Savings
Investing in energy-efficient windows and doors can be offset by various financial incentives:
Federal Incentives
Federal Tax Credits: Homeowners can claim up to $600 for energy-efficient window and skylight installations and up to $500 for doors.
State and Local Incentives
Many states offer additional rebates and incentives:
| State | Window Rebate | Door Rebate | Additional Programs |
| California | Up to $100 per window | Up to $300 per door | PACE financing available |
| New York | Up to $1,000 total | Up to $500 total | EmPower NY program |
| Texas | Varies by utility | Varies by utility | Property tax exemptions |
| Florida | Up to $500 total | Up to $200 per door | Hurricane impact credits |
Utility Company Rebates
Many local utility companies offer rebates for energy-efficient home improvements:
- Electric Utilities: Often provide rebates of $25-$100 per ENERGY STAR window
- Gas Utilities: May offer rebates for improvements that reduce heating load
- Municipal Utilities: Sometimes offer the most generous rebates
Long-Term Savings
Reduced energy bills over time can lead to significant savings, making the initial investment worthwhile:
20-Year Savings Projection:
- Window replacement investment: $15,000
- Annual energy savings: $600
- 20-year savings: $12,000
- Net cost after savings: $3,000
- Additional benefits: Increased comfort, property value, reduced maintenance
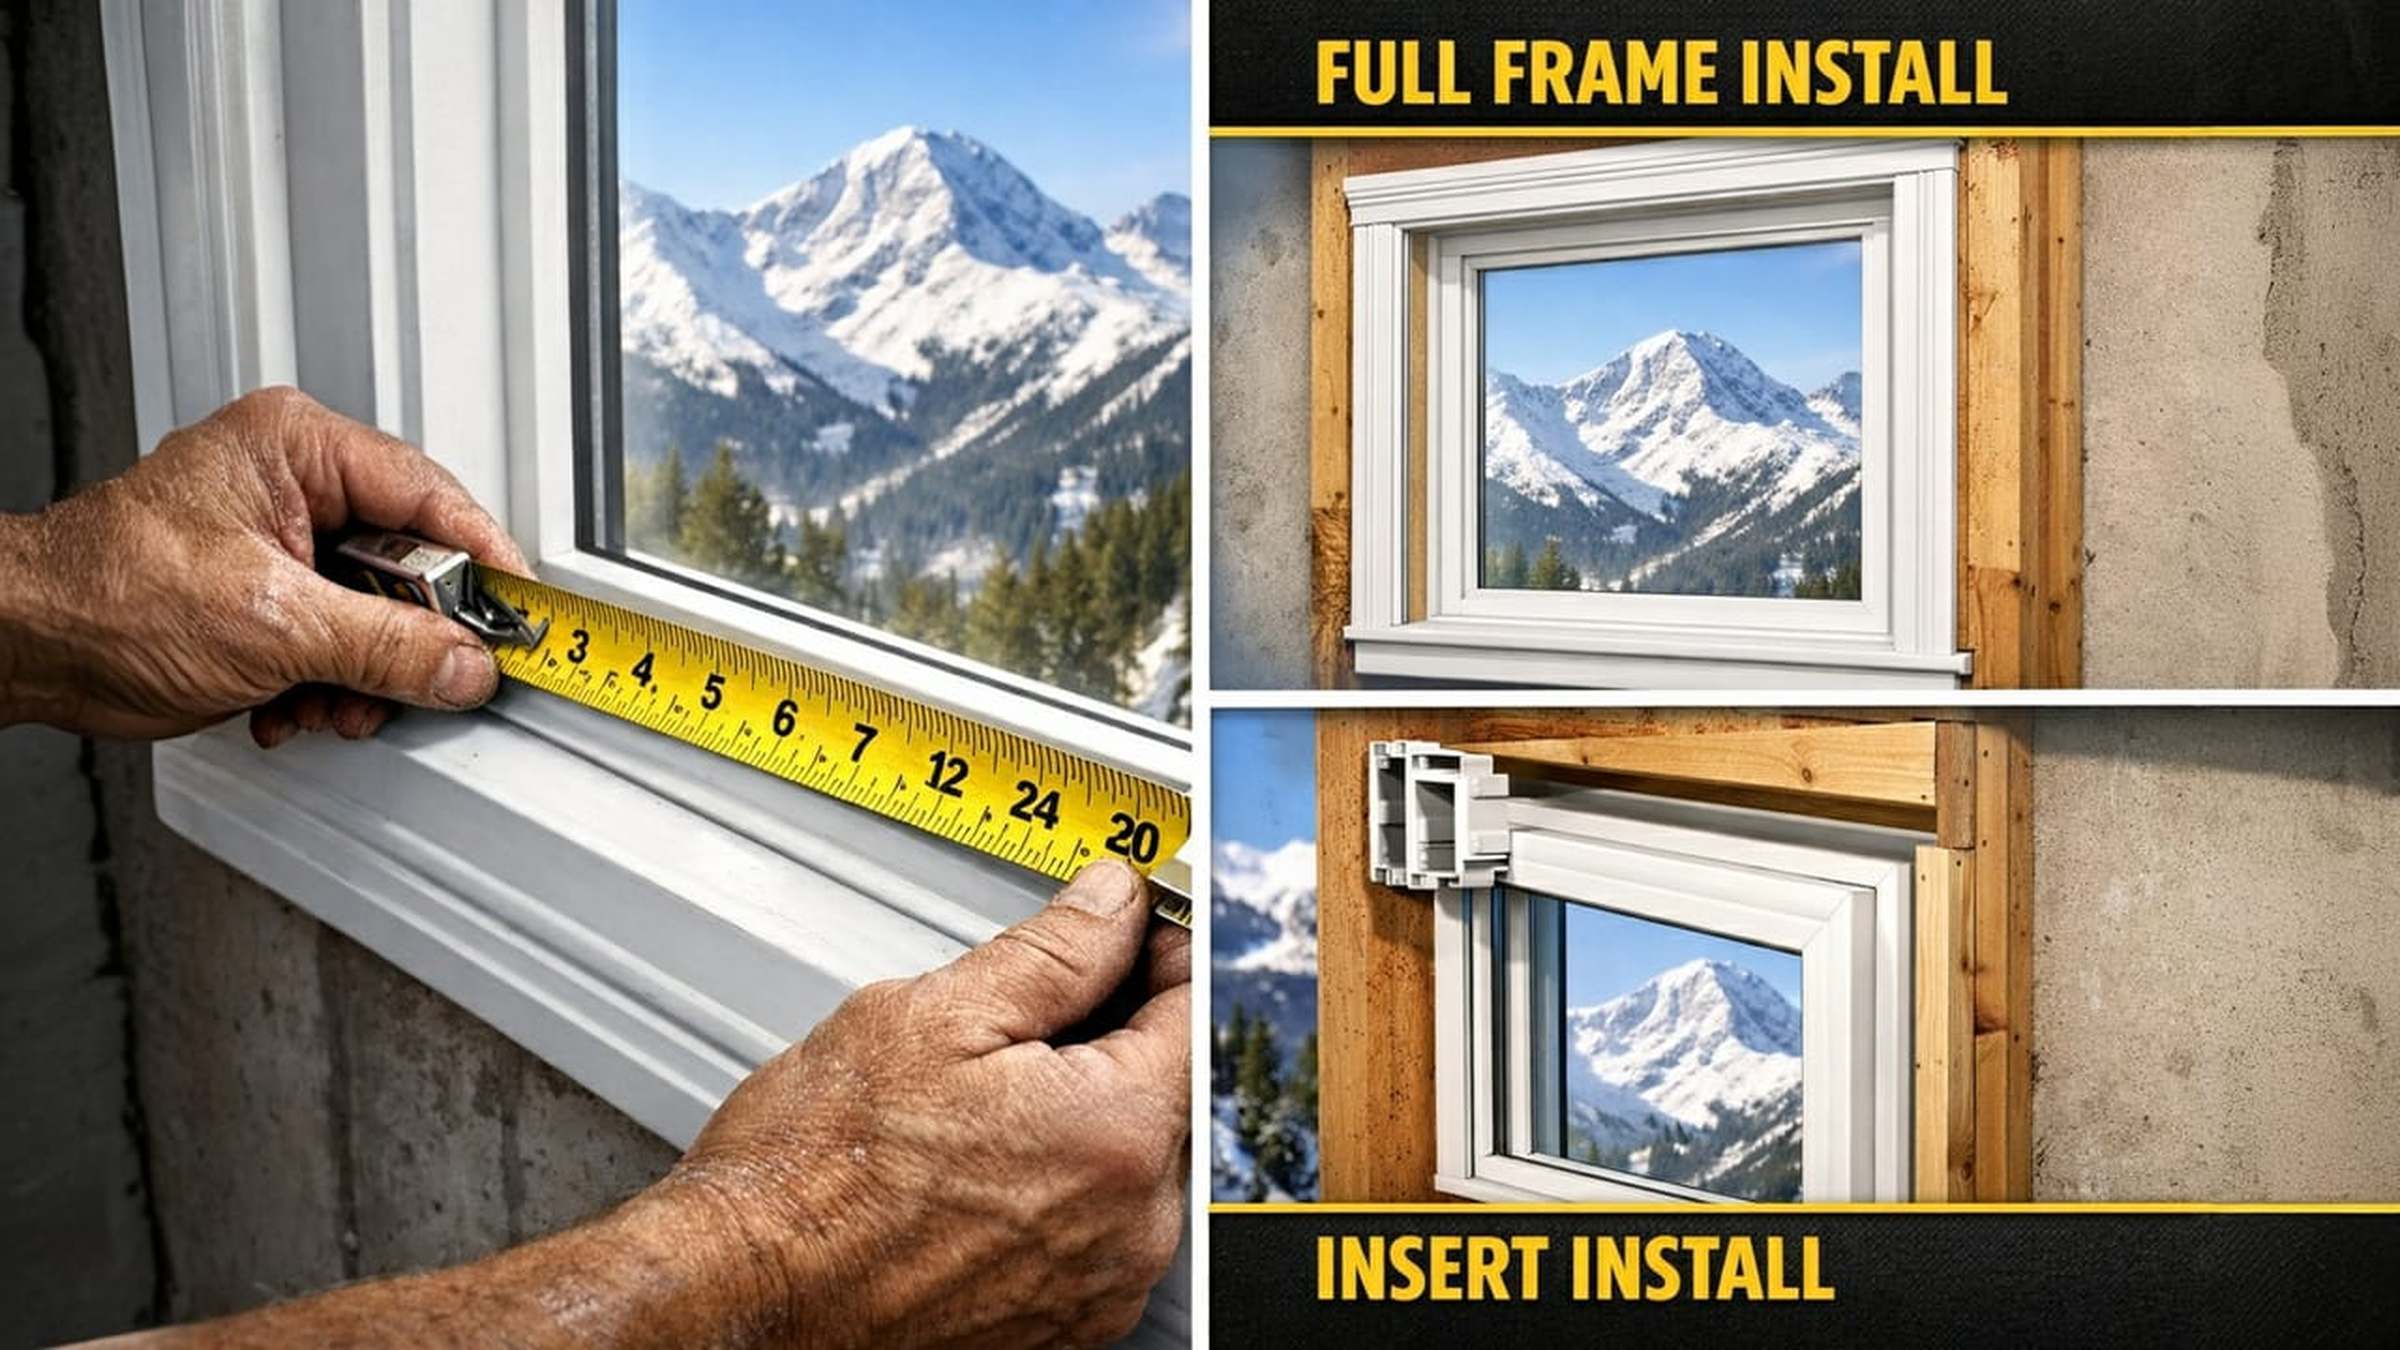
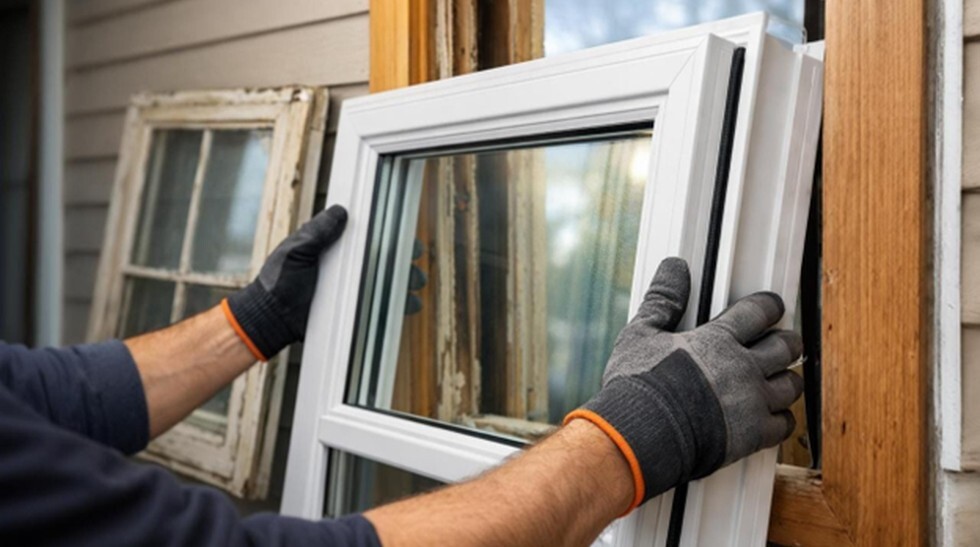
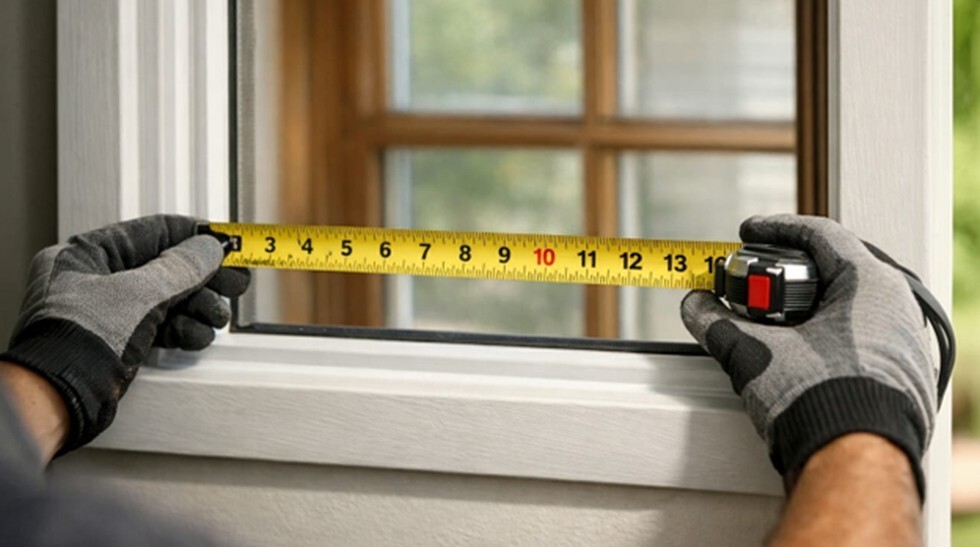
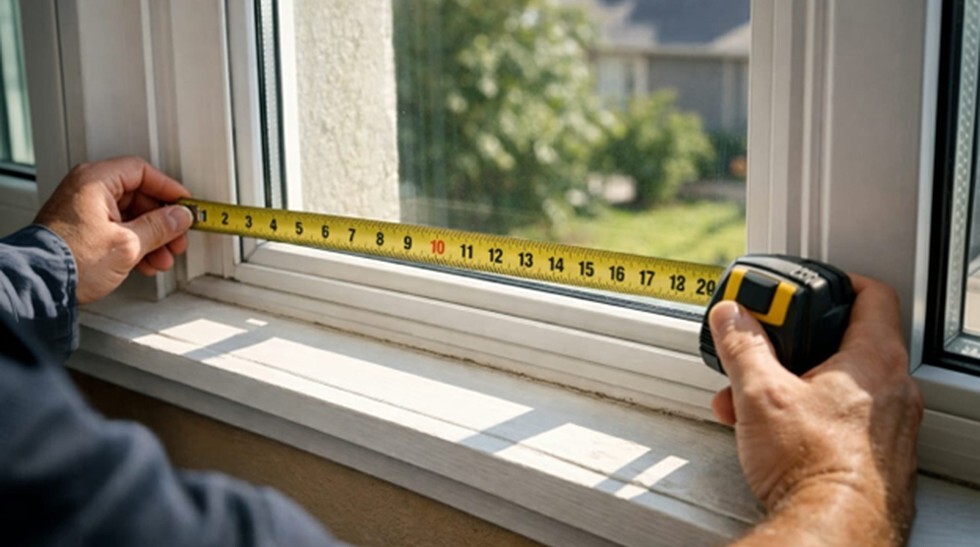
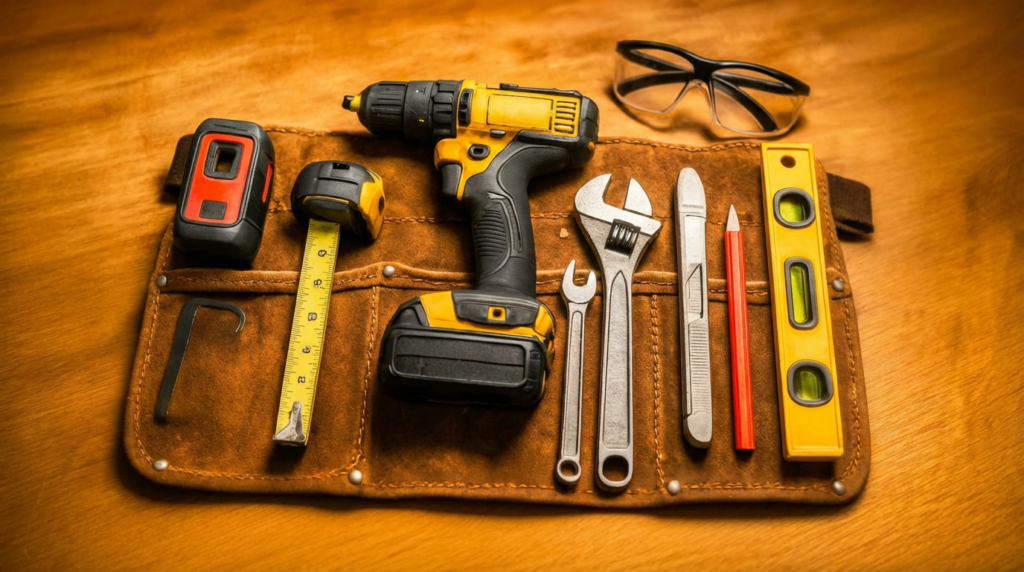
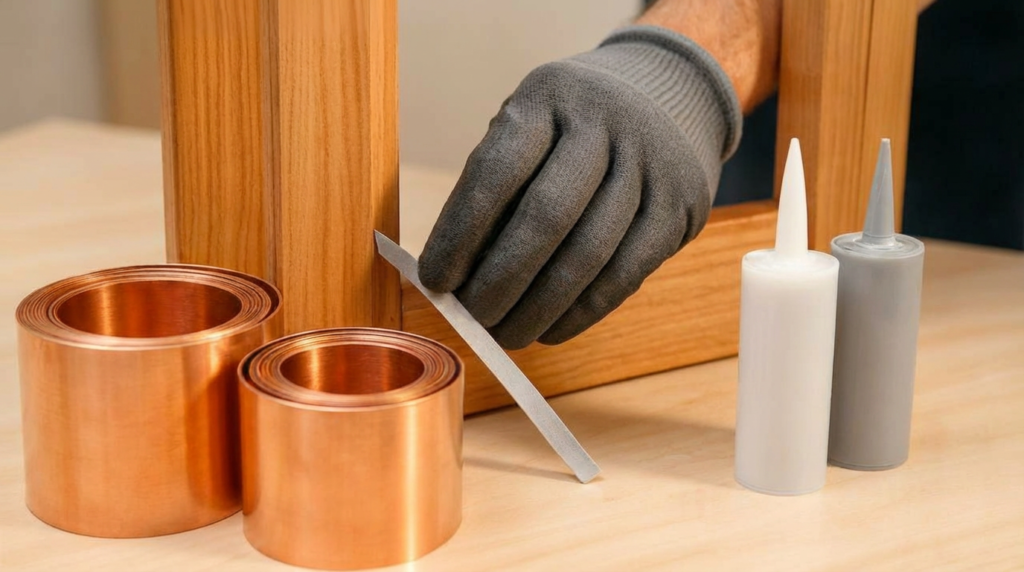
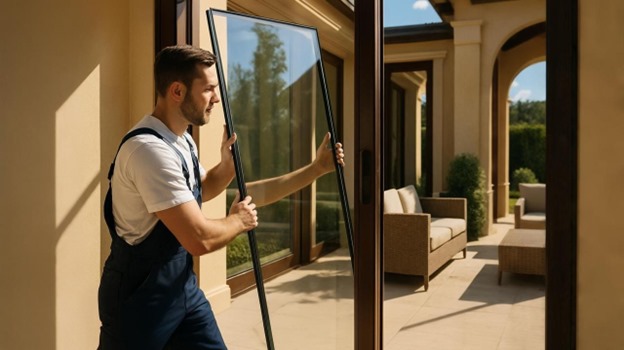
Installation Considerations
Proper installation is crucial for achieving maximum energy efficiency benefits. Poor installation can negate the performance advantages of high-quality products.
Professional Installation Benefits
Proper Sizing: Ensures optimal fit and performance.
Air Sealing: Professional installers know how to properly seal around windows and doors.
Flashing and Waterproofing: Prevents water infiltration that can cause damage and reduce efficiency.
Warranty Protection: Many manufacturers require professional installation to maintain warranty coverage.
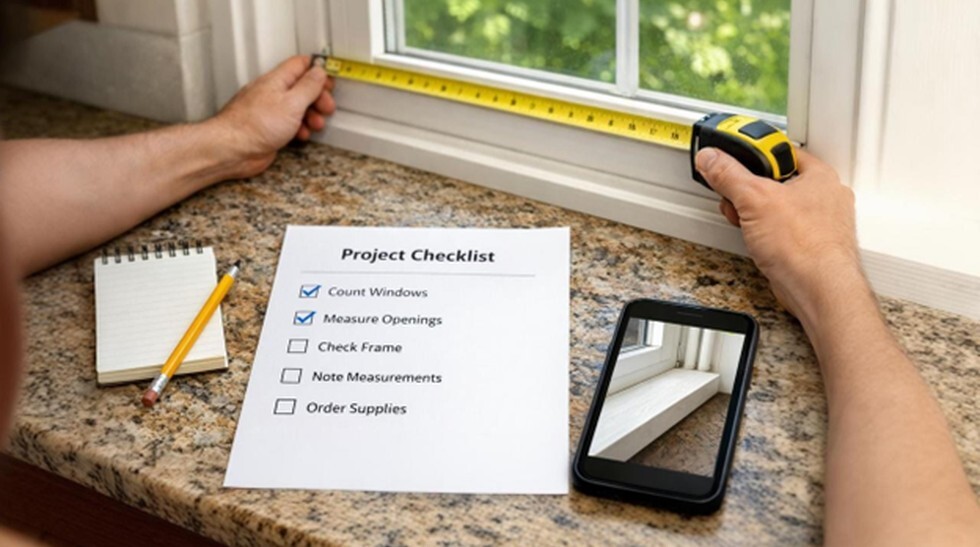
Installation Quality Checklist
When evaluating installation quality, look for:
- Proper measurement and sizing
- Complete removal of old materials
- Thorough air sealing with appropriate materials
- Proper flashing installation
- Quality finishing work
- Clean-up and debris removal
For professional window installation services that ensure optimal performance and efficiency, consider working with experienced professionals who understand the importance of proper installation techniques.
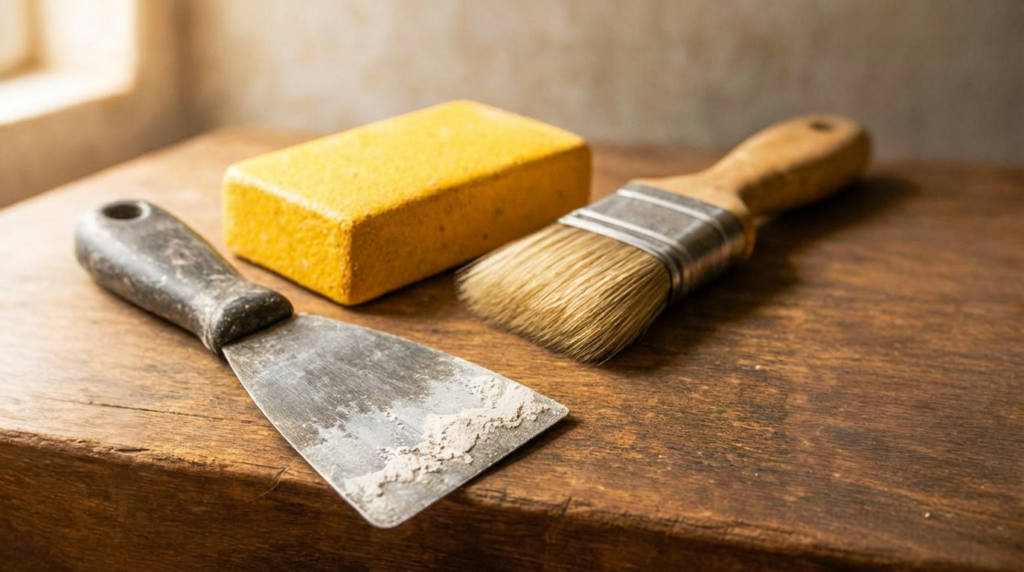
Maintenance and Longevity
Energy-efficient windows and doors are designed for long-term performance, but proper maintenance ensures they continue operating at peak efficiency.
Window Maintenance
Annual Tasks:
- Clean glass and frames
- Inspect and replace weather stripping
- Check and adjust hardware
- Clear drainage holes in frames
Periodic Tasks:
- Recaulk around frames every 5-7 years
- Touch up paint on wood frames
- Lubricate moving parts
Door Maintenance
Regular Tasks:
- Adjust door alignment
- Replace weather stripping as needed
- Lubricate hinges and locks
- Check and tighten hardware
Seasonal Tasks:
- Inspect threshold and door sweep
- Check for air leaks
- Adjust door closer mechanisms
Expected Lifespan
| Product Type | Expected Lifespan | Warranty Period |
| Vinyl Windows | 20-40 years | 10-20 years |
| Wood Windows | 30-50 years | 10-15 years |
| Fiberglass Windows | 30-40 years | 15-20 years |
| Fiberglass Doors | 25-30 years | 10-15 years |
| Steel Doors | 20-30 years | 5-10 years |
Why Choose Professional Installation
The installation quality of energy-efficient windows and doors is just as important as the product quality itself. Professional installation ensures that you receive the full benefit of your investment.
Installation Expertise
Professional installers bring specialized knowledge and experience:
- Building Code Compliance: Ensures installations meet local requirements
- Proper Techniques: Uses industry best practices for air sealing and weatherproofing
- Quality Materials: Access to professional-grade installation materials
- Warranty Protection: Maintains manufacturer warranties through proper installation
Professional window installation services ensure that your energy-efficient windows perform as designed, maximizing your investment in comfort and energy savings.
Avoiding Common Installation Problems
DIY installation often leads to issues that compromise energy efficiency:
- Improper Sizing: Can cause air leaks and structural problems
- Poor Air Sealing: Reduces energy efficiency benefits
- Water Infiltration: Can cause costly damage over time
- Voided Warranties: Many manufacturers void warranties for improper installation
Conclusion
Energy-efficient windows and doors represent one of the most impactful improvements you can make to your home. Beyond the immediate benefits of reduced energy bills and increased comfort, these upgrades contribute to environmental conservation, increase property value, and enhance your overall quality of life.
The key to maximizing these benefits lies in choosing the right products for your climate and home, combined with professional installation that ensures optimal performance. From Low-E coatings and multiple panes to proper air sealing and professional installation, every detail matters in achieving maximum energy efficiency.
At Modern Windows and Doors, we understand the importance of both product quality and installation excellence. Our team of experts specializes in providing high-quality, energy-efficient solutions tailored to your home’s specific needs and your local climate conditions.
We offer comprehensive services that include:
- Expert consultation to identify the best products for your needs
- Professional installation using industry best practices
- Ongoing support and maintenance guidance
- Warranty protection for your peace of mind
Our commitment to quality ensures that your investment in energy-efficient windows and doors delivers maximum benefits for years to come. We use the latest technologies and proven installation techniques to ensure your home achieves optimal energy performance while maintaining the comfort and aesthetic appeal you desire.
Ready to Upgrade?
Transform your home’s energy efficiency, comfort, and value with Modern Windows and Doors. Our experienced team is ready to help you select the perfect energy-efficient solutions for your home and ensure they’re installed to deliver maximum performance.
Don’t let another season pass with inefficient windows and doors costing you money and comfort. Take the first step toward a more energy-efficient home today.
Contact us to schedule a consultation and learn how our energy-efficient products and professional installation services can benefit your home. Our experts are ready to answer your questions and provide personalized recommendations based on your specific needs and budget.
Enhance your home’s energy efficiency, comfort, and value with Modern Windows and Doors. Contact us today to begin your journey toward a more efficient, comfortable, and valuable home.


 Request a consultation